
Navigating the WCMS
Whether you need an orientation on working in the WCMS or a refresher on the OVPUE IT Framework, the OVPUE IT Web and Application Services team is here to help.

Whether you need an orientation on working in the WCMS or a refresher on the OVPUE IT Framework, the OVPUE IT Web and Application Services team is here to help.
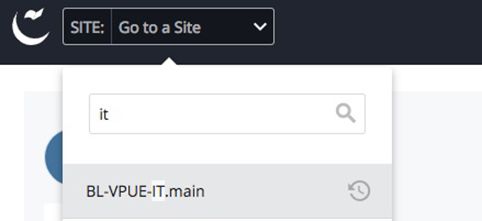
It is always best practice to test out your edits on your test site, which is hosted on the webtest server, before publishing changes to the live site, hosted on the webserve server.
URL for webtest: _____________.webtest.iu.edu
URL for webserve: _____________.indiana.edu
Whenever you publish a file, page, or directory, you must select the server destination. For webtest, leave only webtest checked (this is the default). If you want to publish your change to the live server, also select “webserve” in the publish menu.
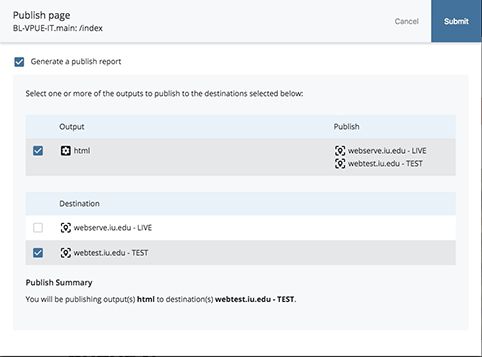
Once you have submitted the publish screen, you'll see a pop-up at the bottom of the screen with a link to the publish queue. Click this link to see when your publish task is completed.
Note: whenever possible, use PDF files instead of word documents
Note: Whenever possible, start from a copy (right click on an existing page, choose copy, then customize and rename, save, submit, and publish)
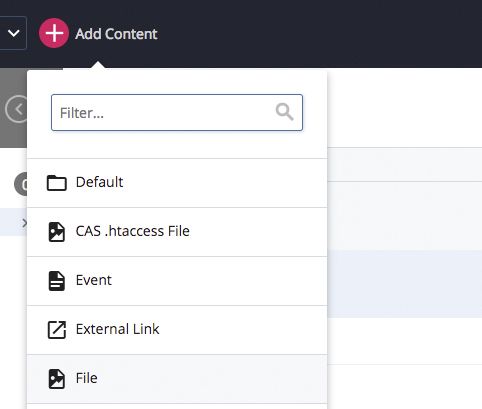
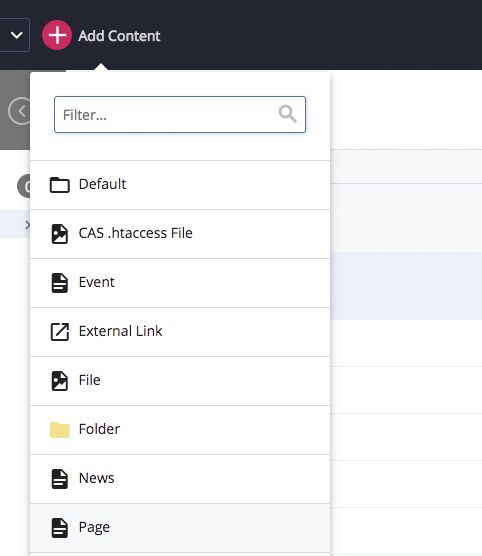
To create a new page from scratch:
Whenever the navigation needs to be updated, republish the _xml folder. This step is required when:
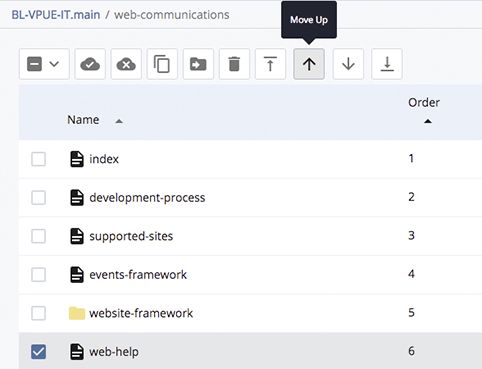
To reorder the pages in the site’s navigation:
Note: the home page of a folder can be in any “Order” position, as it is not listed in the left-side navigation.
Grids
The Grid option can be misleading. Grid should only be used when the items in a section all need to be the same height and width. One example is when you have a grid of stat chunks or interactive panels. This option is not necessary just to make content appear in three or two columns.
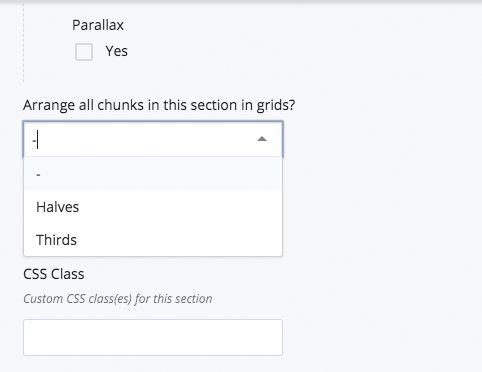
This example illustrates how the grid feature makes all items the same height on each row:

Positioning
To make chunks fill half, one third, or two-thirds of the width of their section, simply choose the appropriate “Position” value in the Chunk > Details section on the page edit screen, then choose the width you want.
Note: On small screens, all left/right chunks regardless of size will display full-width.
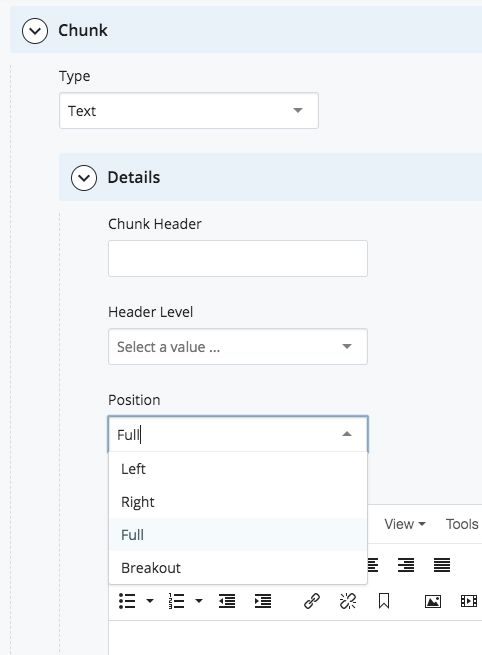
Breakout Sections
Breakout sections should be used on standard pages (see “Wide Pages” below for more information), only for content far enough down the page that it will clear the left-side navigation.
In most cases, we recommend using a text chunk in the first section of a standard page with enough text to clear the left-side navigation, then using breakout sections for every section after the first one.
To make a breakout section, choose “Yes” under “Breakout?” in the Section > details area of the page edit screen.
In this example, the gray section is a breakout section.
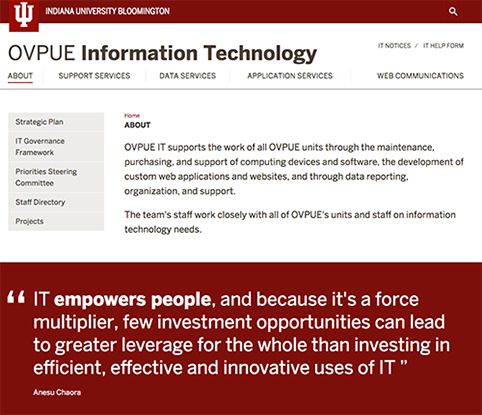
Wide Pages
A wide page should always be used when no left-side navigation will be present. This will usually be the home page of a website, but in some cases may also occur on other pages (for instance when a top-level navigation item produces only a single landing page with no sibling pages).
To make a page wide, check “Yes” on the “Wide page?” section at the top of the page edit screen.
In the examples below, the top screen shows a standard page, the bottom screen shows a wide page.

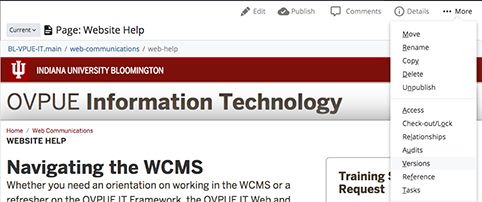
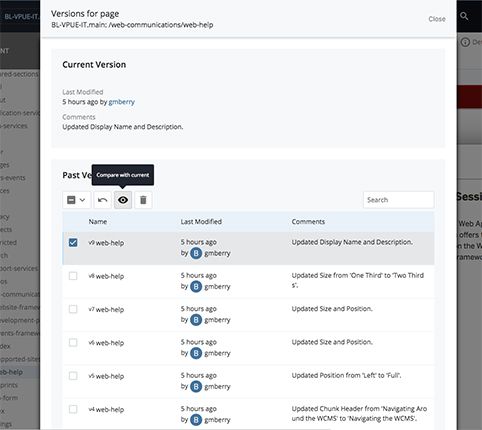
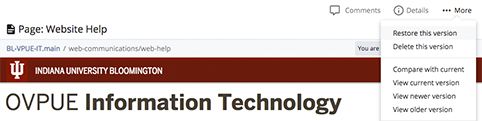
The WCMS keeps a version history of each save change to pages, files, documents, videos, etc. This is useful on occasions when changes are made accidentally and you wish to undo them or if you want to make a temporary change for a time period and then revert back to its previous state.
The OVPUE IT Web and Application Services team has compiled the useful list below of resources that can assist with working on your website.